Modoki is one codebase with three destinations. The game logic, ECS, and rendering you author in the editor run unchanged on a device shell (via Capacitor) and in the browser. You don't maintain separate native ports — you pick a target from the Build menu and the editor runs the right pipeline, streaming its progress into a modal as it goes.
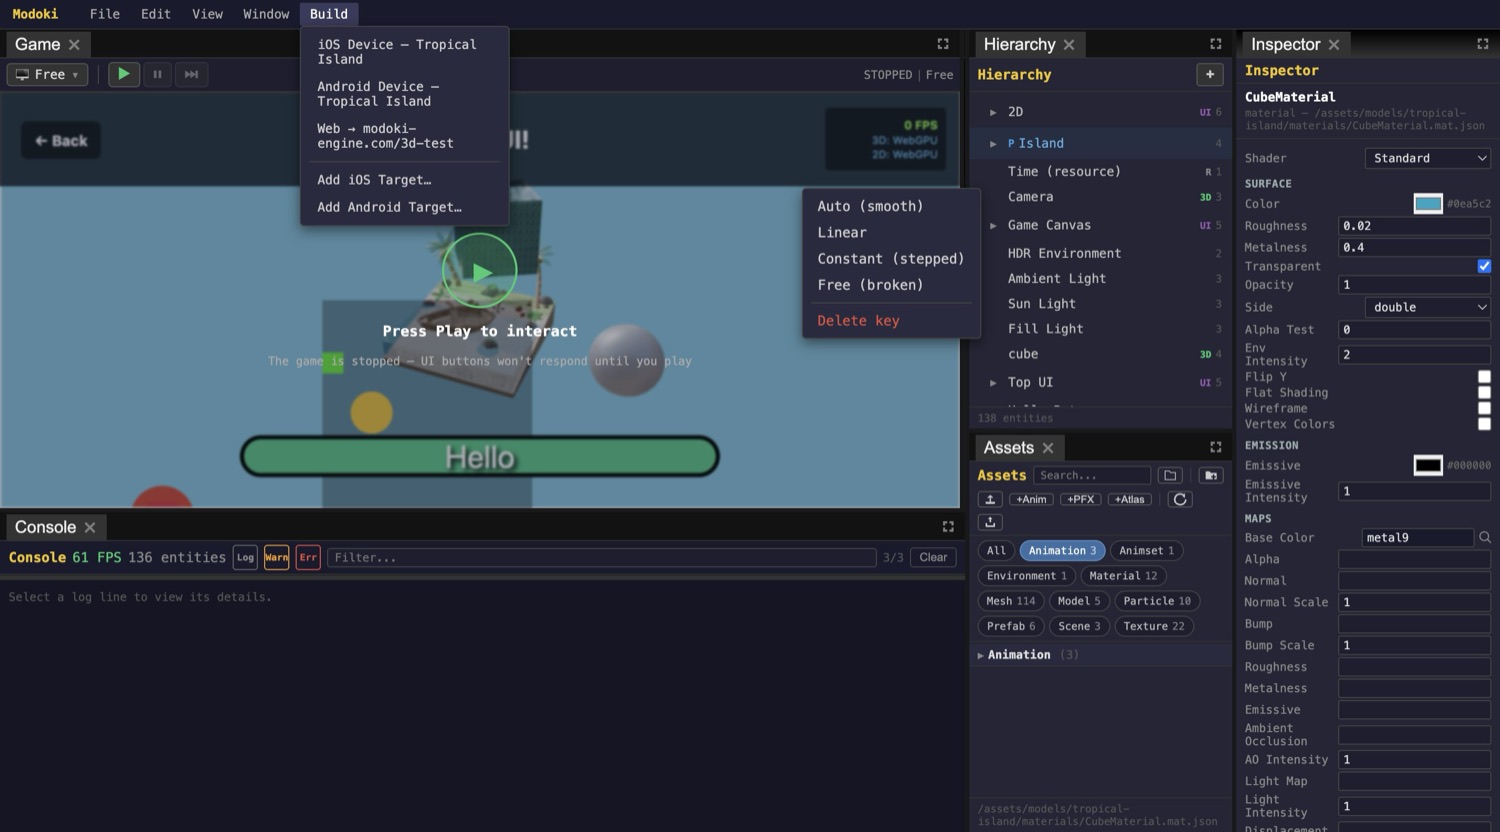
The Build menu
Open Build in the editor's menu bar. You'll see, named for the project you have open:
- iOS Device —
<appName>— builds and installs to a connected iPhone. - Android Device —
<appName>— builds and installs to a connected Android device. - Web →
modoki-engine.com/<base>— a game-only build deployed to the web. - Add iOS Target… / Add Android Target… — scaffold the native Capacitor project for a game that doesn't have one yet.
Choosing any target runs its build pipeline and streams the output into a progress modal so you can watch each step and catch failures.
Press Play in GameView and exercise the game first. GameView runs all three rendering layers with device presets, so you can catch logic and layout problems in seconds — far faster than waiting on a full device install.
Web builds
The Web target produces a game-only build: the editor is stripped out, leaving just the engine and your game. It uploads to a Google Cloud Storage bucket sub-path and invalidates the CDN, so the game goes live at modoki-engine.com/<id>. This is the exact same build that powers the public Modoki demos.
Native builds
Each game owns its own Capacitor iOS and Android project and its own bundle id. The mobile shell runs the identical engine and game code as the web build — the only difference is the native container around it.
Two prerequisites apply to device builds:
- iOS needs Xcode signing — an Apple Team ID configured for the project.
- Android needs JDK 21 on your machine.
If a game has no native project yet, use Add iOS Target… or Add Android Target… first to scaffold it, then run the matching device build.
Project settings
The build parameters live in the Project Settings dialog, configured per project: device IDs, the Apple Team ID, and the web bucket / CDN that the Web target deploys to. Set these once and the Build menu targets pick them up.
Walkthrough: ship a web build
- Open Project Settings and fill in the web bucket / CDN for the project so the Web target knows where to deploy.
- Play in GameView and run through the game to confirm it behaves the way you expect.
- Build → Web →
modoki-engine.com/<base>to start the game-only pipeline; watch the progress modal stream each step. - Wait for the deploy to upload to the bucket and invalidate the CDN.
- Open
modoki-engine.com/<id>to see the live game.
Walkthrough: build to a device
- Scaffold the native project if needed via Add iOS Target… or Add Android Target….
- Set prerequisites — an Apple Team ID for iOS, or JDK 21 for Android — and enter the device IDs in Project Settings.
- Test in GameView (Play) before committing to the slower device round-trip.
- Build → iOS Device or Android Device and follow the progress modal as it builds and installs to your connected device.
An iOS device build won't complete without Xcode signing configured for the game's bundle id. Set the Apple Team ID in Project Settings before you run it.